
Stargazing travel destinations are worth planning around because the difference between a “nice night” and a jaw-dropping Milky Way often comes down to one thing: darkness.
If you’ve ever driven out of town, waited for nightfall, and still seen a washed-out sky, you’re not alone. Light pollution, haze, and timing mistakes quietly ruin a lot of trips, even in places that look remote on a map.
This guide focuses on dark-sky-forward locations across the U.S. and a few easy-to-reach international options, plus how to pick the right spot for your season, your comfort level, and the kind of night photos you want.
What makes a destination “dark sky” (and why it matters)
A true dark-sky experience is more than “far from the city.” You want a place where artificial light is minimal, horizons stay open, and the air stays dry or stable enough to keep stars crisp.
According to International Dark-Sky Association (IDA), responsible outdoor lighting helps protect night skies, wildlife, and human well-being, and it’s a major reason some towns and parks remain excellent for astronomy.
- Low light pollution: Look for Bortle 1–3 if you want obvious Milky Way structure.
- Good transparency: Dry air and low haze matter as much as darkness.
- Stable “seeing”: For planets and telescopes, steady air beats pure darkness.
- Access after dark: Some parks close roads or gates at night, check rules early.
Key takeaway: “Dark” is a mix of location, weather, and timing, and you can control more of it than you think.
Quick self-check: which stargazing trip fits you?
Before you pick among stargazing travel destinations, be honest about what you’ll actually do at 1:00 a.m. Some people love a remote pull-off, others want a lodge and hot coffee within reach.
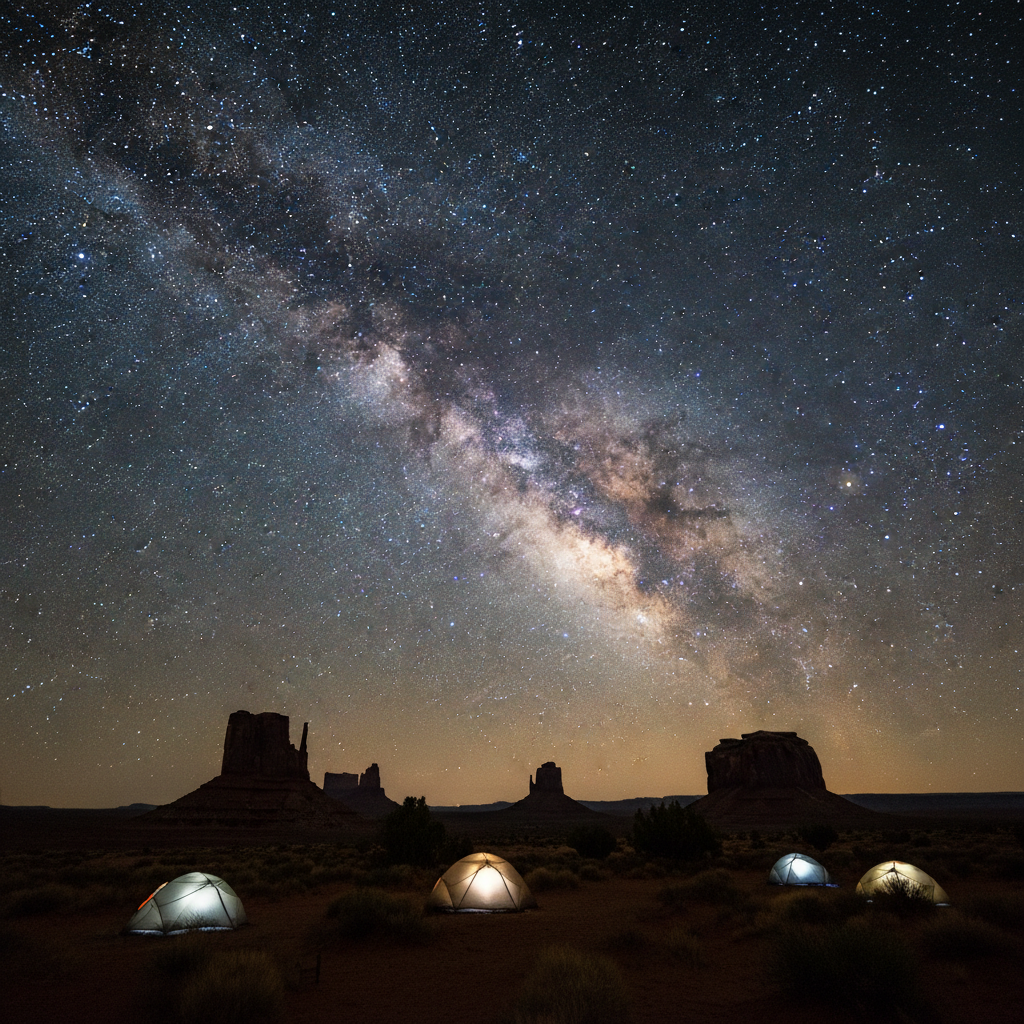
- Milky Way + photos: You’ll need a moonless window, a tripod, and a wide-open view.
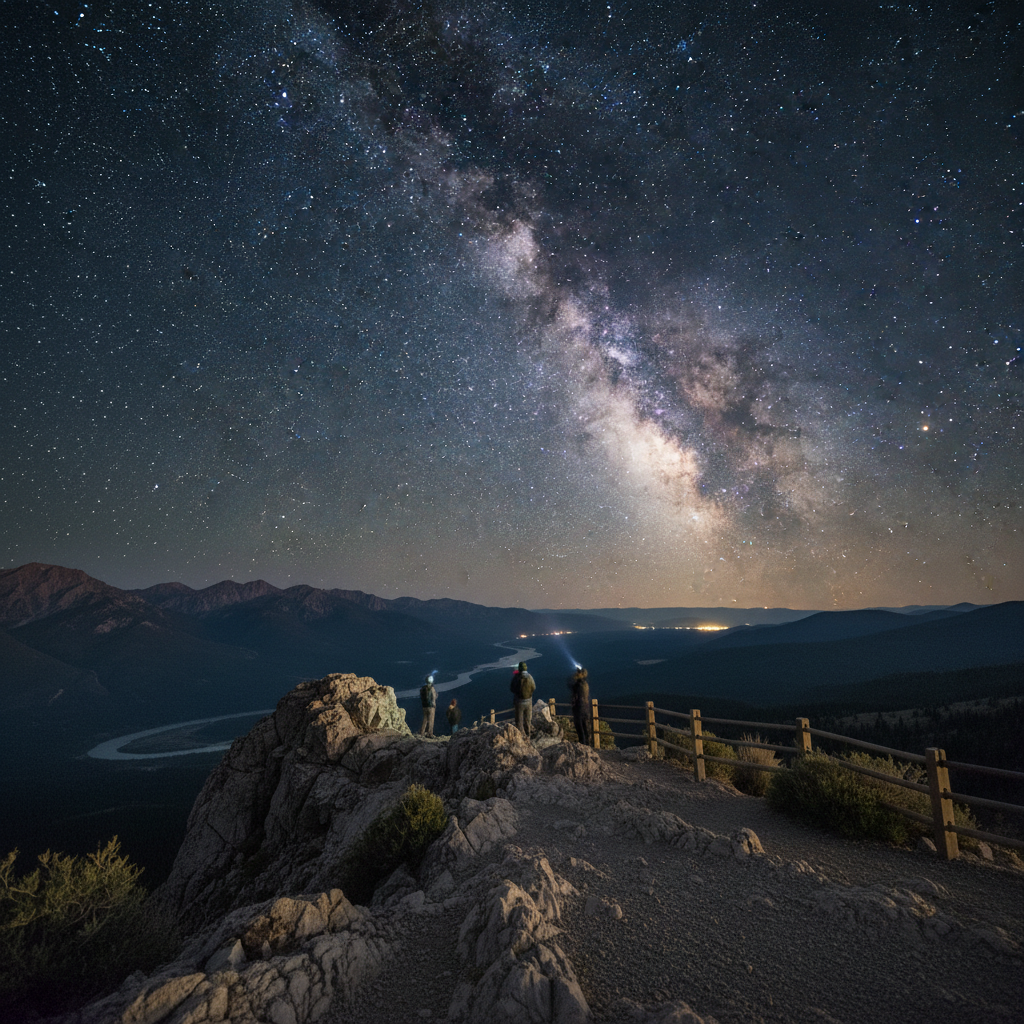
- Casual “wow” night: Pick an easy-access park with safe parking and facilities.
- Meteor shower weekend: Prioritize horizon visibility, comfort, and a plan B for clouds.
- Telescope/planet viewing: Choose stable air and a site that allows extended setup.
If you’re traveling with kids or a group, convenience usually wins. Long drives on dark roads can be the trip’s weak link, not the sky.
Best stargazing travel destinations in the U.S. for dark skies
These U.S. picks are popular for a reason: they combine darkness, views, and a real chance of clear nights in the right season. Conditions vary year to year, so treat this as a shortlist, not a guarantee.
Desert Southwest (often the easiest “big sky” win)
- Big Bend National Park, Texas: Famous for very dark skies, huge horizons, and dry air; summer monsoon storms can be a wildcard.
- Death Valley National Park, California: Massive open basins and strong darkness; heat safety is real, even at night in warm months.
- Grand Canyon (North Rim), Arizona: Higher elevation and darker than the South Rim; season is shorter due to winter closures.
Mountain West (great darkness, but weather can change fast)
- Great Basin National Park, Nevada: Often praised for clear air and ranger programs; elevation can mean colder nights than you expect.
- Moab area, Utah (near canyon country): Many dark pockets outside town; use maps and local guidance to avoid shining lights near others.
- Wyoming high plains / near Yellowstone region: Strong skies when conditions align; watch for wildlife rules and road closures.
East Coast-friendly options (not always pitch-black, but practical)
- Cherry Springs State Park, Pennsylvania: A classic astronomy destination in the East with a dedicated observing field and strong community norms.
- Outer Banks, North Carolina (select areas): Coastal skies can be surprisingly good, though humidity and haze vary.
- Maine north woods (remote zones): Darker than many expect, but weather can be more unpredictable.
A few international dark-sky trips Americans commonly consider
If you’re already planning a bigger vacation, these stargazing travel destinations often land on the shortlist because they pair strong tourism infrastructure with real darkness.
- Atacama Desert, Chile: Extremely dry, high altitude, and famous observatories nearby; altitude may affect some travelers, ask a clinician if you have concerns.
- Mauna Kea area, Hawaiʻi (island travel): Remarkable skies, but access rules and altitude risks matter; follow local guidance and park regulations.
- New Zealand (Aoraki Mackenzie region): Known for dark-sky protections and guided experiences; weather still decides the final outcome.
International planning usually works best when you book at least two “sky nights,” so one cloudy night doesn’t sink the entire plan.
How to choose the right destination: a practical comparison table
Use this as a reality check. A slightly less-dark site that you can reach safely and comfortably often beats a perfect map pin you can’t enjoy.
| Destination type | Best for | Typical trade-offs | Planning tip |
|---|---|---|---|
| Remote desert park | Milky Way, wide-field photos | Heat, long drives, limited services | Carry extra water, fuel up early, download offline maps |
| High-elevation mountains | Sharp star fields, planets | Cold nights, fast weather shifts | Pack layers, check wind and cloud forecasts hourly |
| Designated dark-sky park | Beginner-friendly observing | More people, stricter etiquette | Arrive before dark, use red light only |
| Coastal/lowland areas | Easy trips, family travel | Humidity, haze, variable transparency | Favor cold fronts or drier seasons for clearer skies |
Step-by-step: planning a dark-sky night that actually works
This is where most trips succeed or fail. The location matters, but the calendar matters more than people expect.
- Pick a moon phase first: For Milky Way visibility, aim for a new moon or when the moon sets early. For casual viewing, a small moon can be fine.
- Check two forecasts: One for clouds and one for transparency or “astronomy seeing,” since clear skies can still look dull through haze.
- Arrive before sunset: You’ll find safe parking, scout horizons, and avoid wandering with bright lights.
- Bring the right light: Red headlamp mode helps preserve night vision and reduces disruption to others.
- Know the “dark adaptation” window: Many people need 15–30 minutes away from bright screens to feel the sky pop.
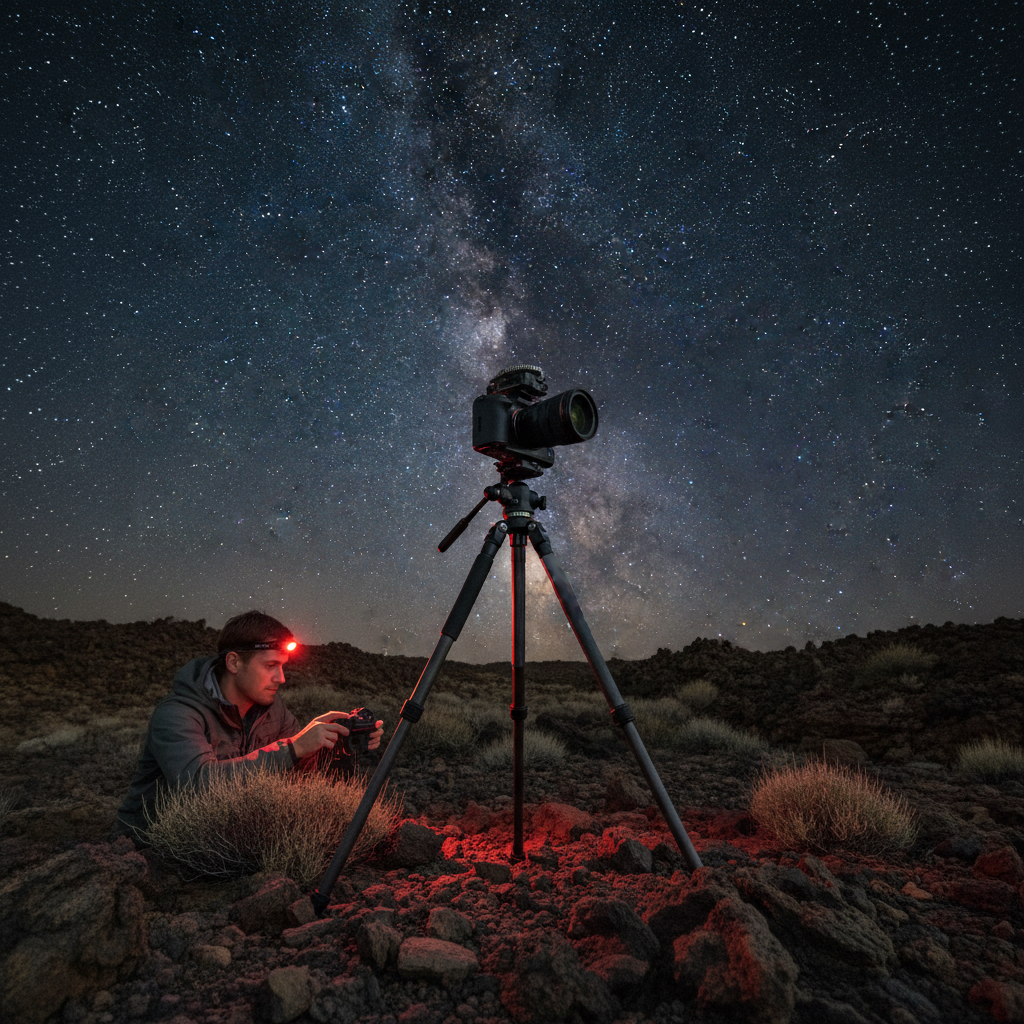
Quick gear list (no telescope required): a warm layer, a blanket or chair, water, snacks, a red light, offline maps, and a fully charged power bank. If you’re photographing, add a tripod and a wide lens.
Common mistakes that quietly ruin stargazing (and how to avoid them)
Most “bad” nights aren’t bad skies, they’re avoidable friction. A few tweaks usually turn the experience around.
- Going on a bright moon: The moon is beautiful, but it can erase faint stars. Decide what you want to see, then choose the night.
- Parking near lights: Campground lamps, road pull-offs, even your own car interior light will crush night vision.
- Over-trusting a single app: Light pollution maps help, but local lighting and terrain can surprise you.
- Skipping etiquette: At popular sites, white flashlights and car headlights upset everyone. Cover screens, point lights down.
- Underestimating cold: Even deserts can feel sharp at midnight. Comfort affects patience, patience affects what you notice.
According to National Park Service (NPS), many parks run night-sky programs and encourage visitors to preserve natural darkness, which often means following lighting rules and respecting quiet hours.
Safety and when to get extra help
Dark-sky travel can be very safe, but the risks tend to be boring ones: driving tired, getting lost without signal, or weather swinging harder than expected.
- Road safety: If you feel drowsy, stop. Wildlife crossings are common in remote areas.
- Altitude and health: High elevations may affect breathing and sleep. If you have heart or lung conditions, it’s smart to ask a clinician what’s appropriate for you.
- Backcountry plans: For remote hikes, consider a guide or ranger advice, especially if you’re unfamiliar with the terrain.
If you want maximum confidence, look for ranger-led programs, local astronomy clubs, or guided stargazing tours. It’s not “cheating,” it often saves you from the small planning mistakes.
Conclusion: a simple way to pick your next night-sky trip
The best stargazing travel destinations are the ones where you can arrive early, stay comfortable, and give yourself a real moonless window, that combo beats chasing the darkest dot on a map.
If you only do two things this week, do these: choose a new-moon date, then pick a site with safe access and a clear horizon. After that, let the forecast decide whether you go tonight or next weekend.
FAQ
What are the best stargazing travel destinations for beginners in the U.S.?
Designated dark-sky parks and well-managed national park viewpoints tend to be easiest because parking, rules, and sightlines are more predictable. Cherry Springs is a common beginner pick in the East, while Big Bend and Great Basin are often recommended out West.
When is the best time of year to see the Milky Way?
In many U.S. locations, the Milky Way core is most photogenic from late spring into early fall, though exact timing depends on latitude and time of night. A moonless window matters as much as season.
Do I need a telescope for a dark-sky trip?
No. Under truly dark skies, the naked-eye view is the main event, and binoculars can add a lot without the setup time. Telescopes shine when you plan for planets, the Moon, or specific deep-sky targets.
How far from a city do I need to drive for dark skies?
It varies. In flatter regions with lots of sprawl, you may need a longer drive, while in mountainous terrain you can sometimes “hide” from city glow faster. Use light pollution maps, but confirm with recent local reports.
What moon phase is best for stargazing?
For the most stars and Milky Way detail, aim near new moon. If your goal is an easy family night with some landscape visibility, a small moon can be pleasant, just expect fewer faint objects.
How can I avoid bothering other people at popular observing sites?
Use red light, keep it pointed down, silence bright phone screens, and avoid opening car doors with interior lights on. If you must leave, try to park so headlights won’t sweep the viewing area.
What’s the quickest way to improve my night-sky photos?
A stable tripod and a true dark site usually beat buying more gear. If you still want upgrades, a fast wide-angle lens or a simple star tracker can help, but only after you nail focus and exposure basics.
Are guided stargazing tours worth it?
Often, yes, especially in unfamiliar terrain or when you want help spotting objects and timing the night. It’s also a good option if you’d rather not drive remote roads late.
If you’re planning a trip and want a more streamlined approach, consider building your itinerary around a dark-sky park plus one nearby backup spot, it’s a small extra step that usually saves the whole weekend when weather changes.